
The easiest 2 optimization methods for your campaign based on ad creatives and other main settings.
Today we will look into the campaign’s optimization and how it helps in running the campaigns more effectively. Firstly, let’s recall why optimization is so important. The creatives may look good and the landing itself may be attractive, yet many affiliates struggle with making a profit, especially in the beginning. Why is that?

Lack of optimization is a big threat to the campaign’s overall performance. Without optimization you’re risking spending a campaign's budget on bad-working settings or targeting. We strongly recommend checking the performance of every setting in the statistics to prevent losing potential profits!
By setting up the tracking with Adavice DSP and analyzing the received data, one can easily improve the situation. On our platform you will find easy-to-use tools and a live Reporting panel for checking the results in real time.
Check the additional articles on tracking parameters and setting up the tracking with Adavice DSP!
Before starting the analysis, you should collect the data of a live campaign. Some marketers start optimizing “blindly” from the start, without knowing the best working settings and creatives.
PRO TIP: If you are familiar with the offer and its working settings, you can start testing with them right away.
In case it’s your first time running the offer on Adavice DSP it is possible to start off with all available traffic and optimize the settings on the way. It is more visible what to exclude after the first testing period as the amount of traffic is much bigger. Moreover, Adavice Team will support you and share the tips for your specific demand!

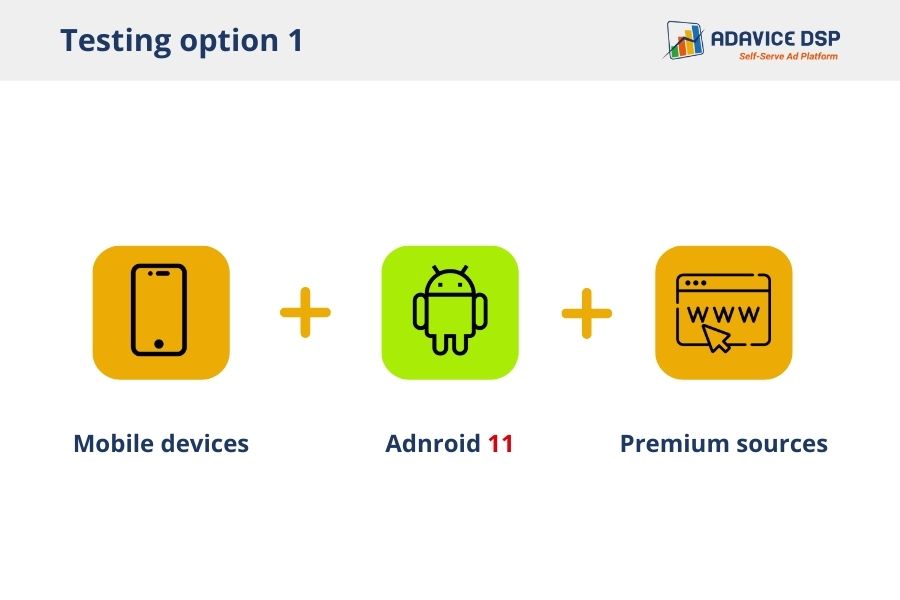
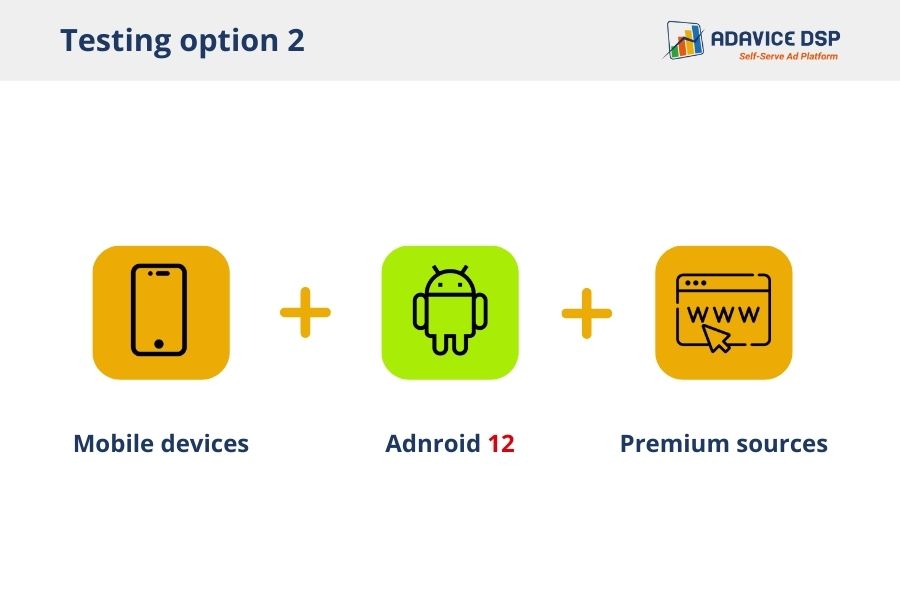
Another way is to create separate campaigns targeting different OS, devices and source groups and optimize based on the result. It will help you in fishing the best-performing mix of settings to proceed with.
Adavice Team experts recommend running a campaign for at least 3 days, to have enough data for optimization. In addition, it is better to start with at least 5 ad creatives, to see which of them perform better.
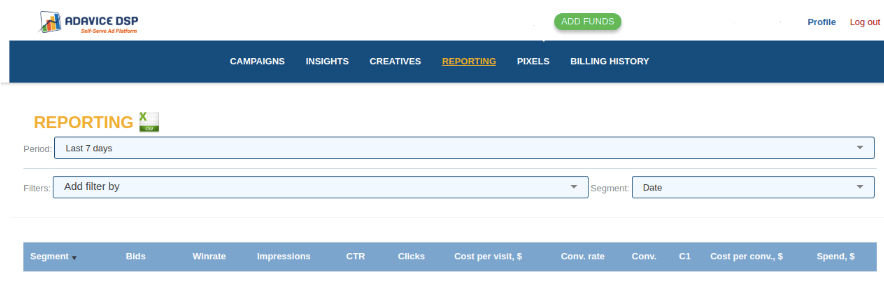
With the convenient Reporting panel you can keep an eye on the results and change certain settings in the process:
Now it is time to begin optimizing and excluding non-working settings! There are two main strategies to choose from that work for both beginner and professional affiliate marketers.
The first method includes creative optimization. This strategy is perfect for the beginners or if you’re testing a completely new offer.
The main trick here is to select the creatives with the highest CR rates, keep them and add the new ones similar to them. Remember, when creating a variation of the best working creative, change only one of its components at once: text, picture or emoji. In the later analysis this will give you the understanding of what combination works better.
Now, here is a step-by-step creative optimization method:
1) Creating a campaign (with at least 5 creatives!)
2) Collecting data (at least 3 days of your offer’s payout x5 times)
3) Excluding the creatives with low CR
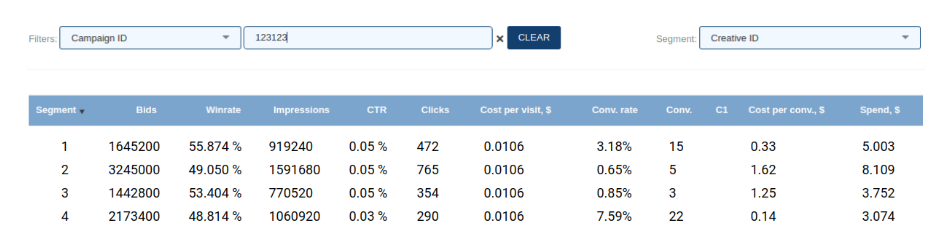
Let’s take a look at the example of a campaign’s creative statistics. The task is to exclude the creatives that have spent the most and brought fewer conversions compared to others. Here you would need to turn the creatives 2 and 3 off as their results are worse compared to 1 and 4 (see Cost per conversion and Conversion rate). Remember to compare the costs and costs per conversion relatively to your payout.
4) Optimizing by OS and versions
On the Adavice DSP you are able to choose mobile and desktop traffic. Keep in mind the
offer’s orientation! If the offer is only for mobile devices, there is no need to test
desktop traffic. Let’s check this Android versions example:
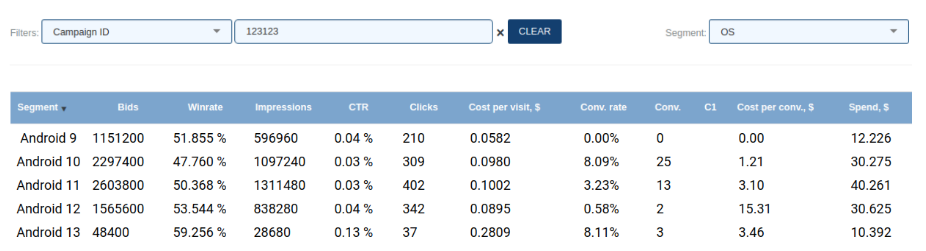
Logic is the same when looking at the OS statistics. Android 9 has to be definitely excluded as it has not brought any conversions. Android 12’s Cost per conversion ($15.31) is much higher than the other versions, so it should also be removed from the targeting. The best working OS here is Android 10 (see Cost per conversion and Conversion rate), so every other version that performed worse needs to be reconsidered according to your payout.
5) Optimizing by sources
There are 4 source groups for you to try: premium, standard, remnant and new. After the
initial running the best is to ruthlessly turn off sources with the highest cost and the
lowest CR.
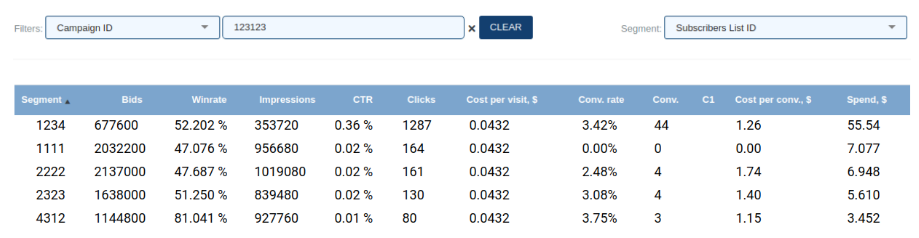
Moving on with the source statistics. As you can see the best-working source on the screenshot is 1234 (see Cost per conversion and Conversion rate), it has the highest number of conversions (44) and much more clicks traffic than the others (see Clicks). Compared to the source 1234, the rest have received less traffic, however, their Costs per conversion are relatively as good as the 1234’s (1.26). What you need is to exclude source 1111, because compared to others it has brought 0 conversions.
Consider proceeding on the best performing sources according to your goals. Another option is to ask your Adavice manager to provide the existing whitelist by geo and vertical. Nevertheless, it is good to collect your own whitelist as it will be specific for your offer and targeting.
Such strategy applies the creatives’ rotation and settings optimization for the ads with the highest CR rates. One more tip is to mix the creatives with the best-working texts. Such a trick will not only add variety to the campaign’s creatives but also improve the overall CR!
After continuous running and optimizing you will have the working model of a creative with the whitelist specifically for the offer.
The second method is focused on the settings optimization. After selecting 5 or more creatives to start, you will mainly focus on finding the best performing settings for them.
After the 3-day run you will have the set of settings that have the best performance based on your goals. What we suggest is to create a few separate campaigns to test these settings in parallel. This will help to see various target combinations and their live comparison.
For performing the settings optimization you’d need:
1) Creating a campaign, choosing at least 5 creatives
2) Collecting data
3) Optimizing the settings:
- OS
- Device targeting
- Sources
- Additional settings
4) Creating various settings combinations to test in parallel (Remember to change only
1 parameter at once for the visible test result!)
5) Running separate campaigns with different settings
Provide examples
PRO TIP: Don’t hesitate to try both of the optimization tricks to find what suits your offer! Mix both strategies to improve the results 👍
After selecting the optimization method suitable for you and improving the campaign’s performance the only thing left to do is run it more! Now you can spend less time on constant analysis and check the campaign’s report once in a while to see the change of pattern in one or another setting’s performance.
And don’t forget that the integration with Adavice DSP opens up the magic world of
auto-optimization! After the optimization, you will be able to set the automatic rules and
our system will optimize the traffic for you according to:
- creatives
- sources (site_id, pub_id)
- domains
- placements
Read more details about the auto-optimization feature in our blog.
The key to profit is repeating the optimization, trying out different methods and finding the working models for a long run. Add different flow combinations (prelanders, CTA’s etc), creatives and new targeting to freshen up the results ;)

Adavice DSP Team experts are happy to help with your questions and share the up-to-date trends of affiliate marketing! Don’t hesitate to write at sales@adavice.com and share your amazing results of optimization!
Rate this article
See how to avoid top mistakes when setting the campaign. Get a pro checklist with specific benchmarks to decide how long you should test your campaign.
What is Auto-Optimization and how to use its advantages to improve your campaign’s performance.
Find out the basics of tracking - the best tool for optimization. What it is, how to use it in improving a campaign's performance and how to set it up on Adavice DSP!